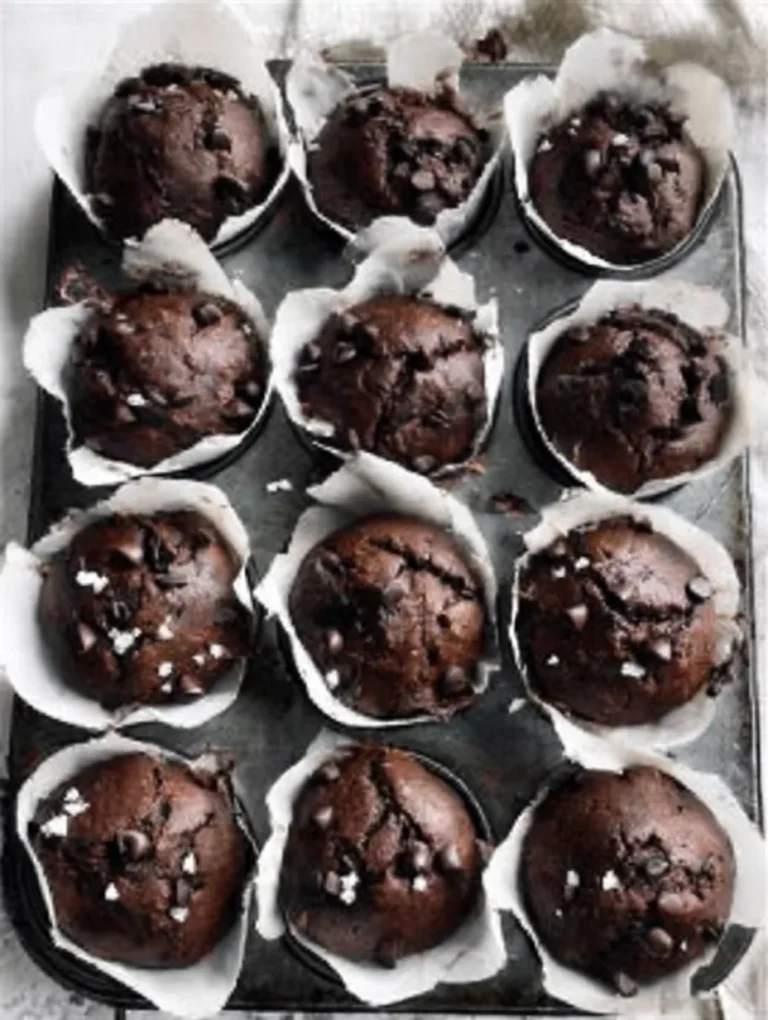
Baked Protein Pancake Bowls- great for meal prep and no banana needed!

Imagine starting your day with a breakfast that’s as indulgent as fluffy pancakes but packed with protein to keep you fueled until lunch. That’s exactly what my Baked Protein Pancake Bowls deliver – a game-changer for busy mornings when you crave something hearty yet healthy. I’ve been experimenting with protein-packed recipes for years, and these Baked Protein Pancake Bowls have become a staple in my kitchen because they’re easy to whip up and customizable to your taste.
What I love most is how they transform simple ingredients into bowl-shaped delights that hold all your favorite toppings, from fresh berries to a dollop of yogurt. No more sad, soggy pancakes; these bake up golden and firm. If you’re tired of the same old oatmeal or eggs, give these Baked Protein Pancake Bowls a try – I promise they’ll brighten your routine. And if you’re looking for more breakfast inspiration, check out my breakfast sausage casserole recipe for another crowd-pleaser.
Here’s the thing: in my experience, incorporating protein powder into baked goods like these makes a huge difference in satiety. They’re not just delicious; they’re nourishing. I’m excited to share this recipe with you so you can enjoy the same satisfaction I do every time I make Baked Protein Pancake Bowls.
Grab This Chef Knife Now - Almost Gone!

- Stays Razor-Sharp: Ice-hardened blade keeps its edge longer than ordinary knives
- Superior Grip Control: Unique finger hole design gives you perfect balance and safety
- Built to Last a Lifetime: Premium stainless steel blade with elegant beech wood handle
- ✓ Finally, a knife that stays sharp and feels comfortable in my hand
- ✓ Professional quality without the premium price tag
- ✓ Makes meal prep faster and more enjoyable
⏰ Only a few items left in stock - order soon
Key Takeaways:
- Baked Protein Pancake Bowls offer a high-protein breakfast option that’s perfect for fitness enthusiasts.
- Prep time is under 10 minutes, with baking taking just 20-25 minutes for quick mornings.
- These bowls burst with customizable flavors, from vanilla to chocolate, ensuring endless variety.
- Don’t overmix the batter for the fluffiest texture in your Baked Protein Pancake Bowls.
- Store leftovers in the fridge for up to 3 days and reheat for a fresh-tasting treat.
Why You’ll Adore This Baked Protein Pancake Bowls
Boosted Protein Without the Boring Taste: These Baked Protein Pancake Bowls pack in up to 20 grams of protein per serving, thanks to whey or plant-based powder blended seamlessly into the batter. You’ll forget you’re eating something healthy because the flavor is so rich and comforting, like a hug from your grandma’s kitchen. It’s my go-to for post-workout recovery.
Effortless Baking for Busy Schedules: Who has time for flipping pancakes on a stovetop? With these, you just mix, pour into muffin tins, and bake – done! I find it liberating to pop them in the oven while I get ready, and the results are consistently perfect every time.
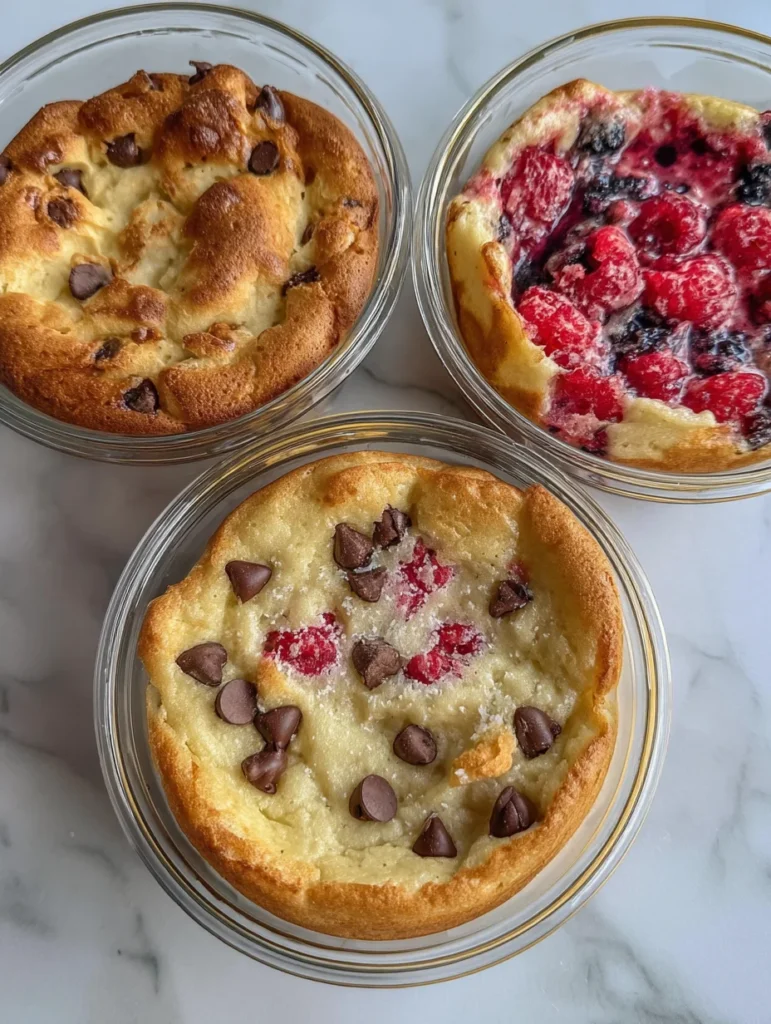
Versatile Topping Paradise: Baked Protein Pancake Bowls are designed to cradle fruits, nuts, and syrups without falling apart. Imagine the joy of building your own bowl with seasonal berries or a swirl of nut butter. They’re not just pancakes; they’re a canvas for creativity that keeps breakfast exciting.
Family-Friendly and Kid-Approved: Even picky eaters in my house gobble these up because they’re soft, sweet, and fun to eat from a bowl. We make them on weekends as a special treat, and the kids love helping with the toppings. It’s a win for nutrition and bonding all in one.
Grab This Kitchen Scale Now — Best Precision Pick!

- Razor-Accurate Every Time: Dual-increment precision down to 0.1g — perfect for baking, meal prep, and portion control with g, oz, ml, and fl'oz modes.
- Smart Removable Bowl Design: Detachable bowl doubles as a protective case for compact storage. Tare function lets you weigh ingredients in any container with zero fuss.
- Built for Everyday Convenience: Auto-zero, tare function, low battery alert, overload indicator, and 2-minute auto-off to extend battery life — all in a sleek stainless steel build.
- ✓ "Perfect for baking — precise, lightweight, and stores easily without wasting counter space"
- ✓ "A game changer! Weighing ingredients is now way more accurate than measuring cups"
- ✓ "Love the 0.1g precision and backlight — best food scale I've owned. Highly recommend!"
⏰ Only a few items left in stock - order soon
Essential Ingredients for Baked Protein Pancake Bowls
Protein Powder: I always reach for vanilla whey protein powder in these Baked Protein Pancake Bowls because it adds a subtle sweetness without overpowering the other flavors. It not only boosts the protein content but also helps create that light, airy texture when baked. In my experience, using a high-quality powder ensures no gritty aftertaste, making the bowls smooth and enjoyable. Opt for unflavored if you want more control over the taste.
Oat Flour: Ground oats give these Baked Protein Pancake Bowls a nutty depth and gluten-free option that’s gentle on the stomach. They’re a fantastic base that absorbs the wet ingredients perfectly, resulting in moist centers. I’ve swapped them for almond flour before for a lower-carb twist, and it works wonders. This ingredient is key to keeping the bowls hearty yet light.
Eggs and Almond Milk: Eggs provide structure and richness to your Baked Protein Pancake Bowls, binding everything together during baking. Almond milk keeps it dairy-free and adds a creamy consistency without heaviness. What I find interesting is how the combo creates steam for that perfect rise. Together, they make the batter versatile for vegan adaptations too.
How to Make Baked Protein Pancake Bowls
Preheat and Prep the Batter
Start by preheating your oven to 350°F and greasing a muffin tin generously – this prevents any sticking and ensures your Baked Protein Pancake Bowls pop out easily. In a large bowl, whisk together the protein powder, oat flour, baking powder, and a pinch of salt to evenly distribute the dry ingredients. Now, in a separate bowl, beat the eggs with almond milk, mashed banana for natural sweetness, and a dash of vanilla extract until smooth and frothy. Gently fold the wet into the dry mixture, stirring just until combined – overmixing can lead to tough Baked Protein Pancake Bowls, so aim for a lumpy batter. This step takes about 5 minutes but sets the foundation for fluffy results. I’ve learned that letting it rest for 2 minutes helps the oats hydrate fully.
Fill and Bake to Perfection
Spoon the batter into the prepared muffin tin, filling each cup about three-quarters full to allow room for rising. The aroma of vanilla and banana will start filling your kitchen as you slide the tin into the oven for 20-25 minutes, or until the edges are golden and a toothpick comes out clean from the center. Keep an eye on them; baking times can vary with oven quirks, but the tops should spring back lightly when touched. In my experience, rotating the tin halfway through ensures even browning. As they bake, you’ll notice the batter puff up beautifully, transforming into those irresistible Baked Protein Pancake Bowls. Once done, let them cool in the tin for 5 minutes before transferring to a wire rack – this prevents sogginess.
Assemble and Serve Your Bowls
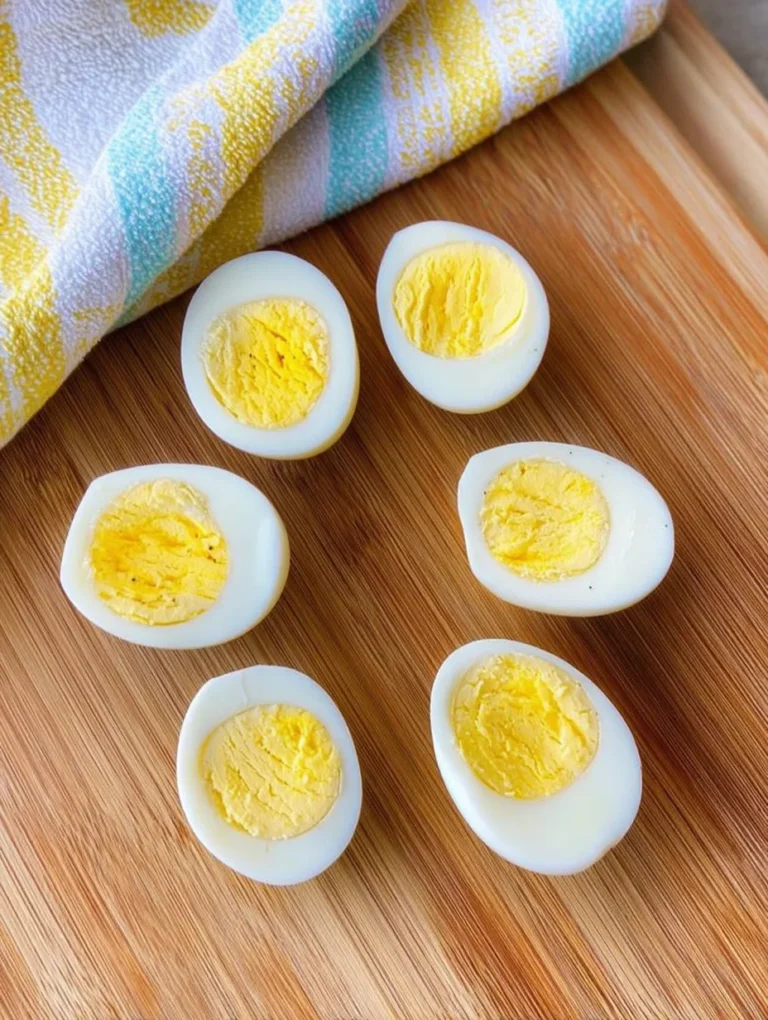
While cooling, prepare your toppings – I love slicing fresh strawberries or sprinkling chopped nuts for crunch. Gently press the center of each cooled Baked Protein Pancake Bowl with the back of a spoon to create a well for fillings. Fill with yogurt, fruits, or a drizzle of maple syrup to your heart’s content. This step is where the magic happens, turning simple pancakes into personalized bowls. If you’re meal-prepping, you can even bake them plain and store for later assembly. For a savory twist, pair with eggs like in my hard-boiled eggs in air fryer recipe.
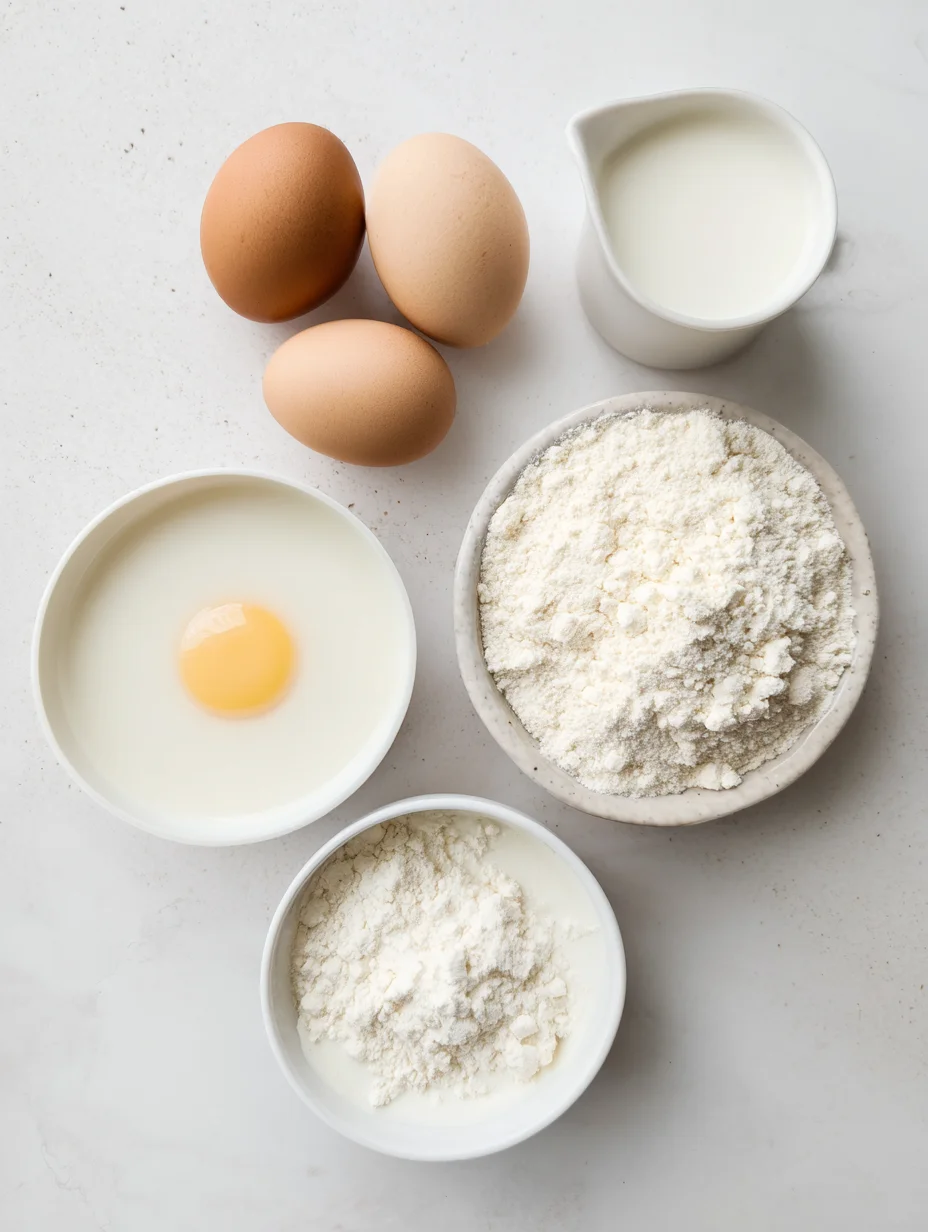
Ingredients
- 1 cup vanilla protein powder
- 1 cup oat flour
- 2 large eggs
- 1 cup almond milk
- 1 ripe banana, mashed
- 1 tsp baking powder
- 1 tsp vanilla extract
- Pinch of salt
- Optional toppings: fresh berries, Greek yogurt, maple syrup, nuts
Serves: 6 bowls | Prep Time: 10 minutes | Cook Time: 25 minutes
Baked Protein Pancake Bowls Instructions
- Preheat oven to 350°F and grease a 6-cup muffin tin.
- In a bowl, mix dry ingredients: protein powder, oat flour, baking powder, salt.
- In another bowl, whisk eggs, almond milk, mashed banana, and vanilla.
- Combine wet and dry ingredients gently until just mixed.
- Fill muffin cups ¾ full and bake for 20-25 minutes until golden.
- Cool, create wells, and add toppings. Enjoy!

Pro Tips for the Best Baked Protein Pancake Bowls
Use Room Temperature Ingredients: This helps the batter come together smoothly, preventing lumps in your Baked Protein Pancake Bowls.
Experiment with Flavors: Add cinnamon or cocoa powder to the mix for variety without extra effort.
Check Doneness Early: Ovens vary, so start peeking at 18 minutes to avoid overbaking.
You Must Know
- These bowls are naturally gluten-free if using certified oat flour.
- Each serving provides around 15-20g of protein, ideal for balanced meals.
- Baking in a muffin tin creates perfect portion sizes for grab-and-go.
- Customize with add-ins like chocolate chips for a treat-like version.
How to Store Baked Protein Pancake Bowls
Once cooled completely, store your Baked Protein Pancake Bowls in an airtight container in the fridge for up to 3 days to keep them fresh and moist. For longer storage, freeze them individually wrapped in plastic and foil for up to a month – they thaw quickly at room temp. Reheat in the microwave for 30 seconds or toaster oven for crisp edges, adding toppings just before serving to maintain texture.
Customizing Your Baked Protein Pancake Bowls
Swap the banana for applesauce if you prefer less sweetness in your Baked Protein Pancake Bowls, or go vegan with flax eggs and plant milk. For a chocolate version, stir in cocoa powder and dark chocolate chips – kids love it! If you’re low-carb, almond flour works great as a sub for oats. Check out my ultimate moist blueberry muffins recipe for more baking variation ideas.
What to Serve with Baked Protein Pancake Bowls
Pair these bowls with a refreshing side like my 5-minute lemon parmesan lettuce salad for a light contrast to the hearty pancakes. Fresh fruit smoothies or a simple green juice complement the protein boost perfectly. For heartier meals, add scrambled eggs or crispy bacon on the side. And don’t forget a hot cup of coffee to round out your breakfast spread – it’s the ideal morning combo.
Baked Protein Pancake Bowls- great for meal prep and no banana needed!
Great for meal prep and no banana needed! This recipe makes 1 bowl, multiply for more.
Timing
Recipe Details
Ingredients
- 01 1 egg
- 02 50 g yogurt ((vanilla or unflavoured))
- 03 70 ml milk ((I use soy or almond but any milk will work))
- 04 35 g flour (all purpose)
- 05 25 g protein powder
- 06 5 g zero calorie granulated sweetener ((or sweetener of choice, 1 tsp))
- 07 1/2 tsp baking powder
Instructions
Preheat oven to 180c or 356 F
Add each ingredient to the oven safe glass bowl and mix well
If making multiple bowls for meal prep, make sure to add each ingredient separately to each bowl.
Add toppings of choice, you could use fresh fruit, sugar free chocolate chips, shredded carrots etc or keep it plain
Bake for 20-22 minutes
Remove from oven and let cool for 5-10 minutes
Serve with extra yogurt, peanut butter, maple syrup, butter etc
Notes & Tips
FILED UNDER:
NUTRITION FACTS (PER SERVING)
Nutrition information is calculated using an ingredient database and should be considered an estimate. In cases where multiple ingredient alternatives are given, the first listed is calculated for nutrition. Garnishes and optional ingredients are not included.
Frequently Asked Questions About Baked Protein Pancake Bowls
Can I make Baked Protein Pancake Bowls ahead of time?
Absolutely, you can prepare the batter the night before and store it in the fridge overnight for even easier mornings. Just give it a quick stir before baking to recombine. This make-ahead trick is a lifesaver on weekdays.
How long does Baked Protein Pancake Bowls last in the fridge?
They stay fresh for 3-4 days when kept in an airtight container. Beyond that, the texture might soften, so freezing is better for longer storage. Always reheat gently to revive the fluffiness.
Are Baked Protein Pancake Bowls gluten-free?
Yes, if you use certified gluten-free oat flour and a gluten-free protein powder, they’re perfect for gluten-sensitive diets. I’ve tested this swap many times with great results. It keeps all the protein benefits intact.
Can I use a different protein powder in Baked Protein Pancake Bowls?
Sure, plant-based options like pea or hemp work well, though they might slightly alter the flavor – start with half the amount and adjust. In my experience, whey gives the creamiest texture for these Baked Protein Pancake Bowls. Always check for added sugars to control sweetness.
What if I don’t have a muffin tin for Baked Protein Pancake Bowls?
No problem – bake in a small ramekin or even an 8×8 dish and portion out. The key is creating bowl shapes post-bake by pressing the centers. It might take a minute longer to cook in larger formats.
How can I make Baked Protein Pancake Bowls sweeter?
Add a tablespoon of maple syrup to the batter or top with honey post-bake for that extra indulgence. Natural sweeteners like stevia blend in seamlessly without spiking sugar. These tweaks keep the recipe healthy yet satisfying.
Is it okay to freeze Baked Protein Pancake Bowls?
Definitely – freeze baked and cooled bowls for up to 2 months. Thaw overnight in the fridge and reheat as needed. They’re fantastic for meal prep in your busy routine.
Can kids eat Baked Protein Pancake Bowls?
Yes, they’re kid-friendly and nutritious, providing protein for growing bodies. Hide veggies like pureed spinach in the batter if you want to sneak in extras. My family devours them every time.
Final Thoughts
These Baked Protein Pancake Bowls aren’t just a recipe; they’re a simple way to elevate your breakfast game with flavor, nutrition, and ease. From the first bite, you’ll see why they’ve won over my household and why I keep coming back to them. I encourage you to try making your own batch this weekend – tweak the toppings to suit your style and let me know how it turns out. Happy baking!